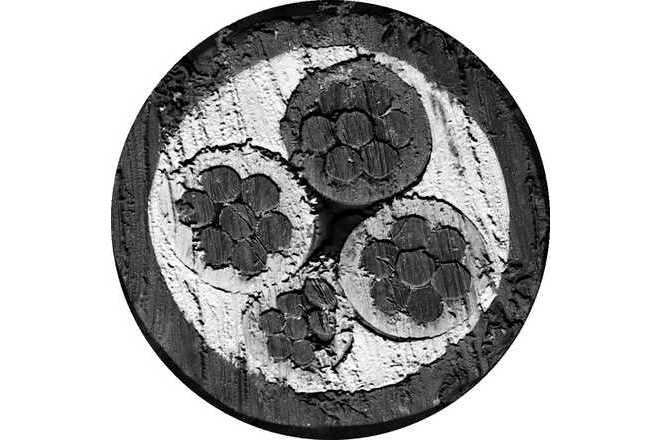
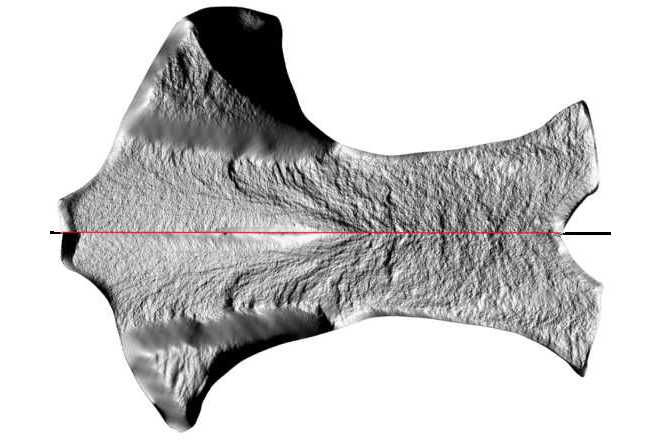
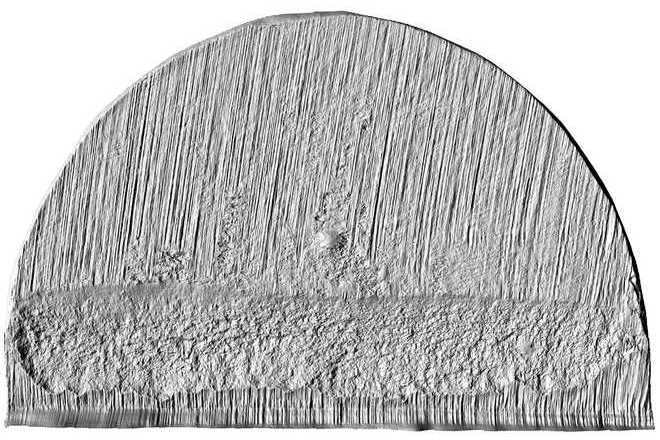
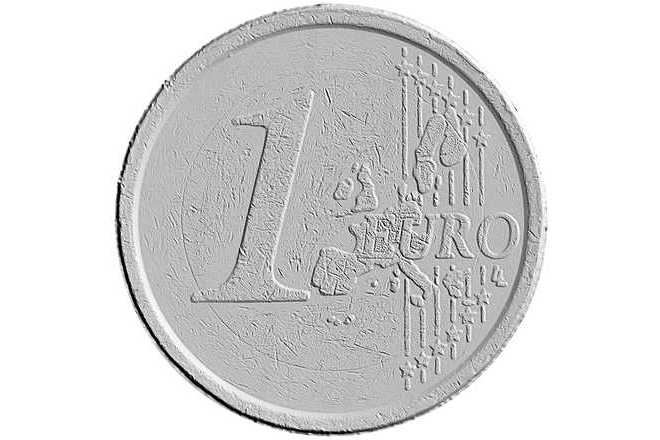
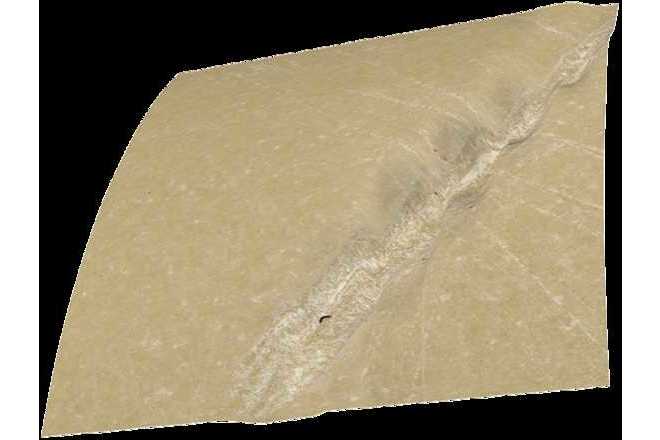
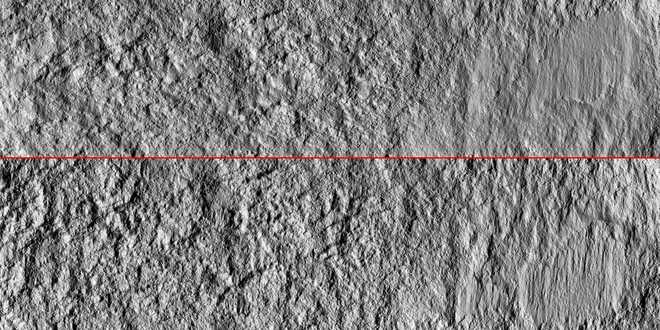
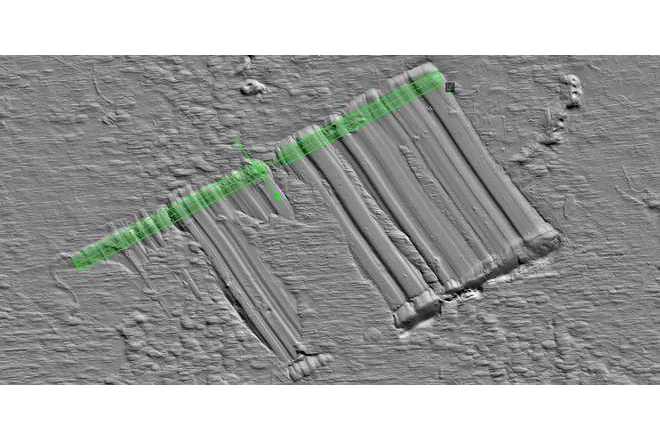
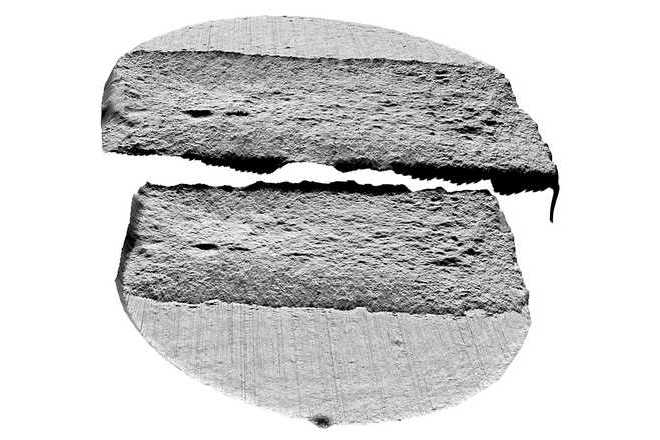
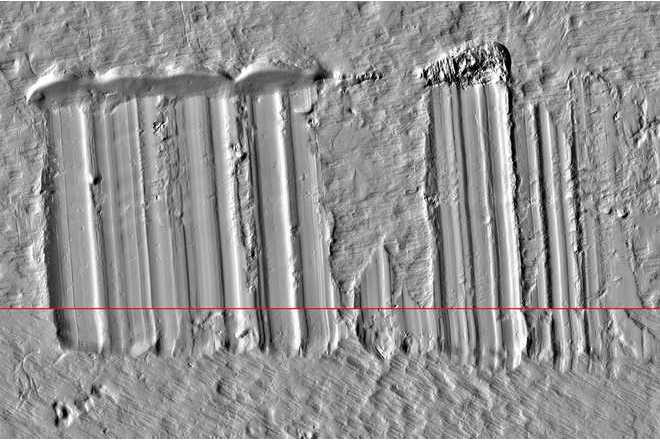
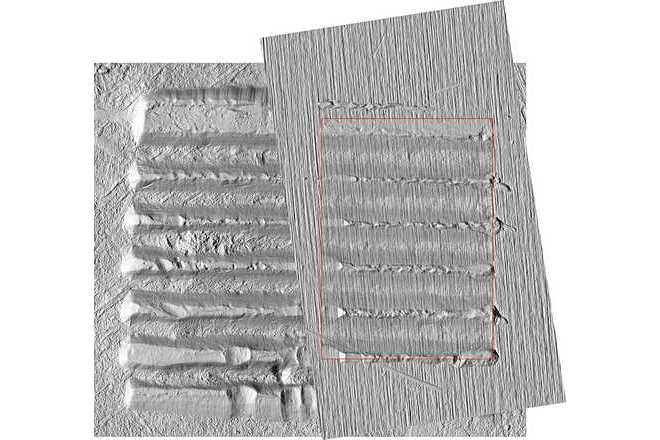
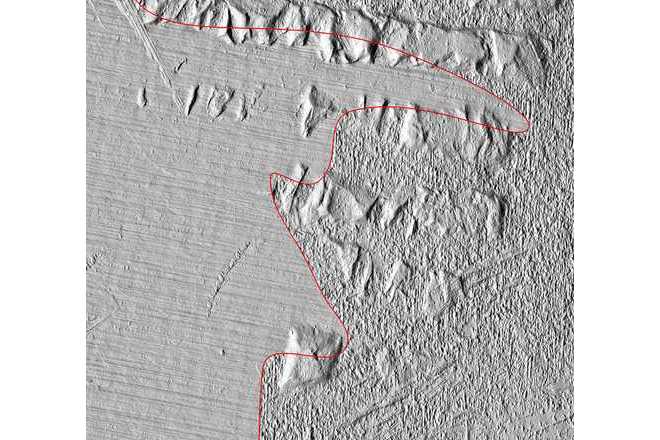
The ToolScan System by Laboratory Imaging offers a comprehensive solution for the forensic examination of tool marks. It is designed to provide live, real-time imaging and high-resolution, all-in-focus scanning of 2D and 3D images created from focus variation combined with photometric stereo.
The key advantage of the ToolScan System is its advanced forensic software, LUCIA, which is continuously updated with new features for forensic analysis.
-
3D images with a resolution of 8340 PPI.
-
2.8 MP CMOS camera.
-
Robust mechanical construction (samples up to 15 kg).
-
Motorized stage range: 10 x 10 cm, focusing range: 10 cm.
-
Rotary (360°) or flat version of the device.
-
8-segmented ring LED illuminator, laser autofocus.
-
The device is fully controllable via software and a joystick.
A 5 MP color CMOS camera can be integrated into ToolScan to enable color surface visualization. This feature is particularly beneficial for applications such as:
Identify material differences and surface details with greater clarity.
Detect alterations, inks, and other important details.
Enhance the analysis of tool marks by color differentiation.
Examine materials penetrated by projectiles in greater detail.
With a broad range of accessories, ToolScan can digitize various types of samples:
-
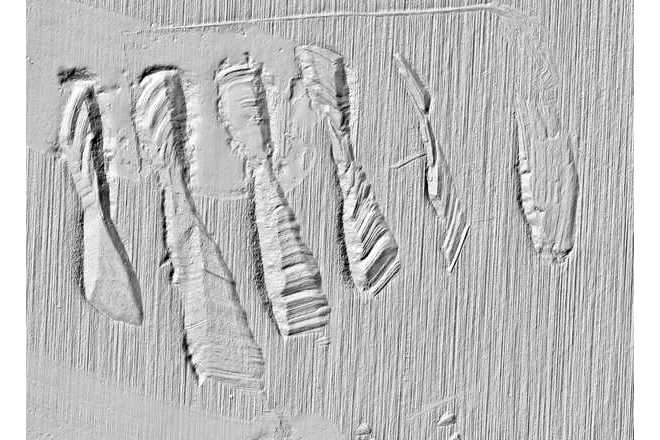
Toolmarks – striations, imprints, cuts, casts, and physical matching.
-
Tools and test samples – direct scanning of blades, cylinder locks, plier jaws, and test impressions in lead.
-
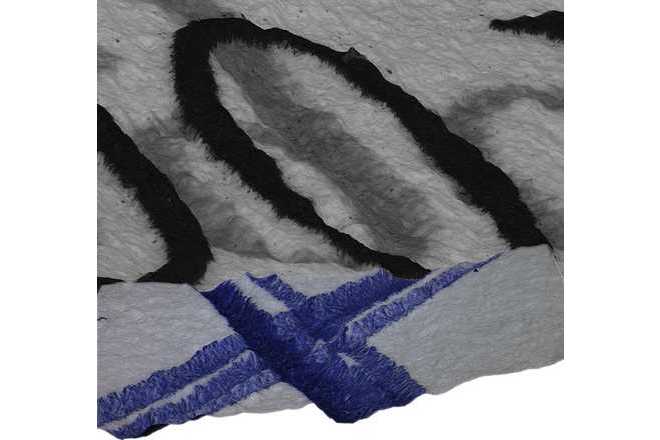
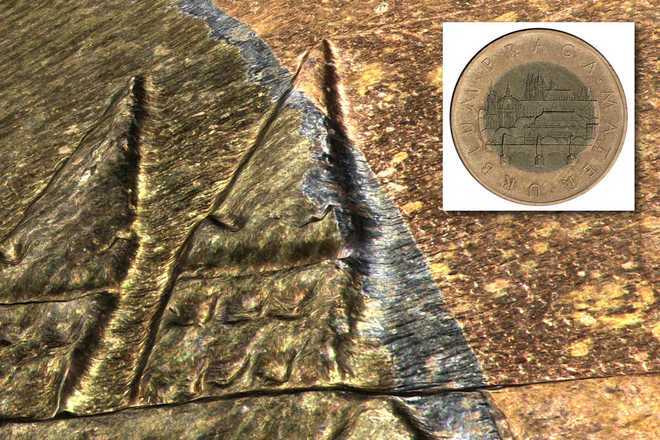
Documents – signatures (line intersections).
-
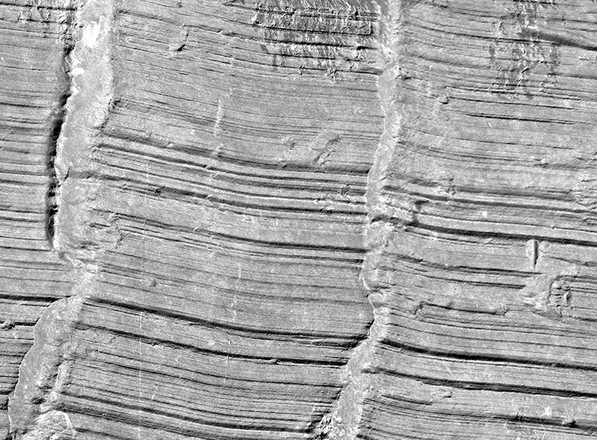
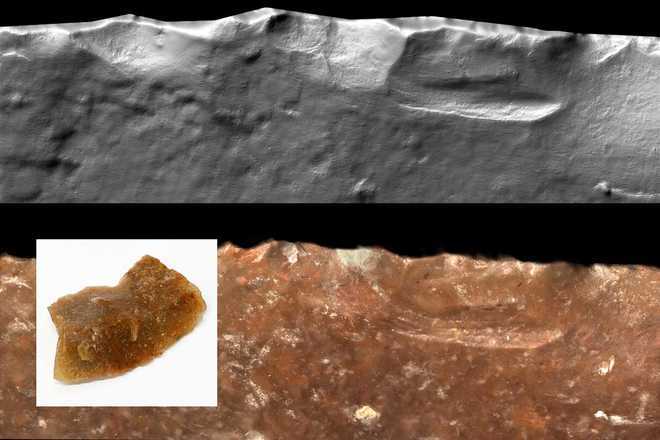
Archaeological samples – toolmarks on bones, ceramics, and other biological material.
ToolScan can be enhanced with ballistic analysis software. This allows the system to be used for ballistic examination, providing a versatile and effective alternative to the comparison microscope.
-
Cartridge Case Holder – for one cartridge case or special 16-CC holder for batch scanning.
-
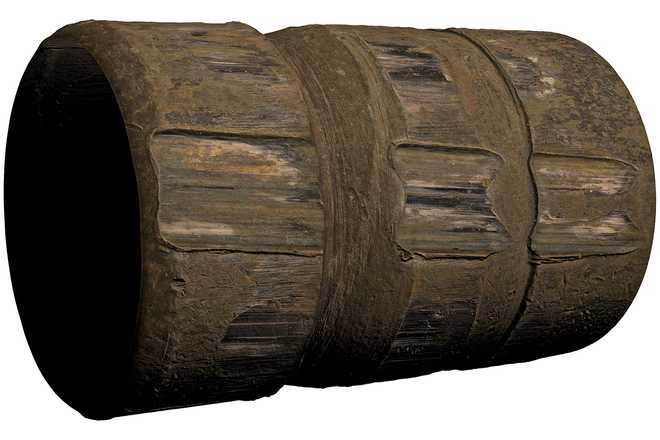
Rotary Motor – enables fast, precise full-surface scanning of bullets, capturing detailed markings and characteristics.
The LUCIA Forensic software offers an intuitive workflow with multiple 2D, 3D, and texture-free comparison modes:
-
Split-line (including curves and polylines),
-
Canvas/Tiled view (up to 16 images simultaneously),
-
Transparency,
-
Region and more.
Users can adjust angle, intensity, and position of the light on scanned images. The light can also be synchronized across images, simulating the behavior of a traditional comparison microscope. Users can capture screenshots of overlapping images or perform live toolmark examinations in real time.
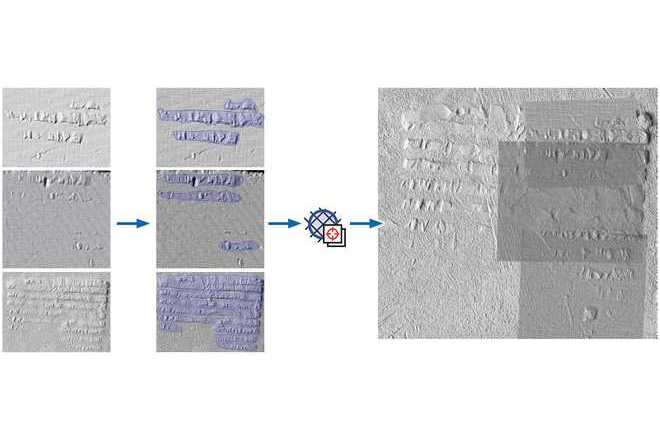
Distinctive mechanoscopic features, such as striations, impressions, and fracture areas can be identified and marked on the digitized evidence.
Using advanced algorithms and 3D data from defined toolmark areas, the software automatically aligns images, allowing experts to quickly identify similarities and accelerate comparisons.
The LUCIA Forensic software is designed to guide you step by step through the entire process, from scanning and comparing to searching the database for matching details in the samples and also publication of reports.
-
Photometric stereo and EDF capture of sharp 3D images at 8300 PPI.
-
Virtual lighting (angle, position, intensity) simplifies toolmark search. Illumination syncs like a comparison microscope.
-
Automatic Identification aligns images using defined markers (striation, impression, fractures), helping experts quickly find similarities.
-
Database search compares characteristic areas (striation, impression, fracture marks) on digitized evidence.
-
Ability to generate comprehensive reports simplifies documenting and results sharing.
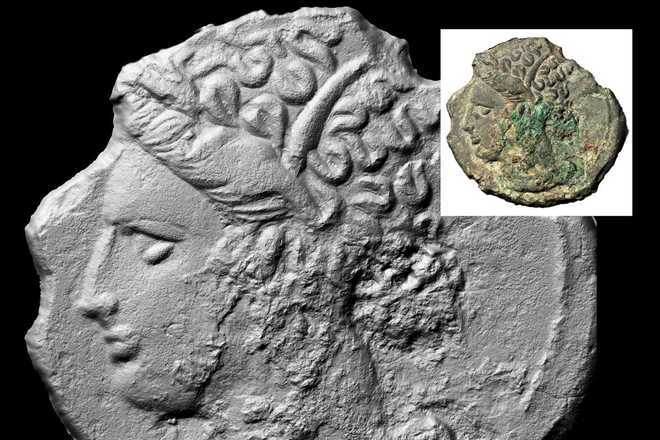
Beyond its primary forensic purpose, ToolScan has also proven to be a powerful instrument in archaeological research. Its highly detailed 2D and 3D images enable high-quality digital documentation of artifacts, including coins, fibulae, working tools, weapons, bones, and the toolmarks found on them.
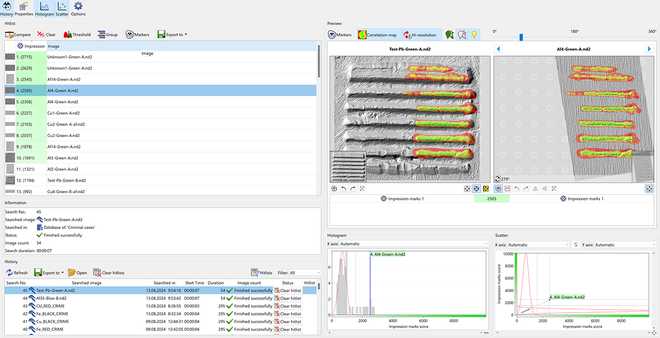
The LUCIA ToolScan software has implemented its own module for search in a database or in a folder structure on a network drive or a local disk. It uses 3D data correlation to analyze characteristic areas of the digitized evidence. This search module provides the user with a hit list of potential matches based on the correlation score.
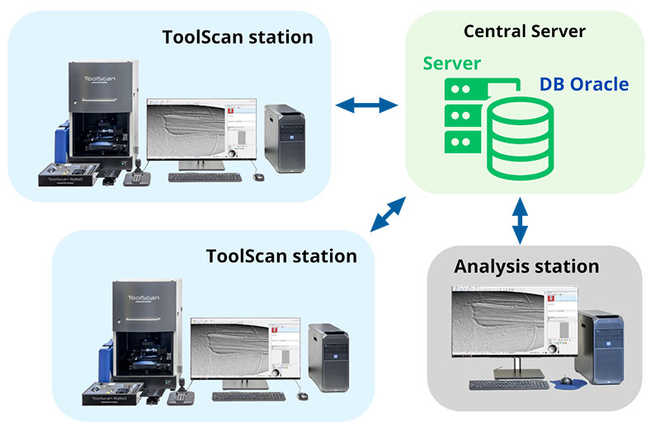
The ToolScan system offers a fully customizable structure that can be designed as a solution for small laboratories or scaled into a national system with a central database connected to multiple regional databases across the country. Built on an Oracle Database, ToolScan provides administrator tools to monitor system performance and access database history, enabling users to review audit information efficiently.
Easy Teamwork
Four Eyes Principle
The database enables experts to consult, collaborate, and review examination results with colleagues from other laboratories.
Comparison snapshots enable quick reopening of all images involved in the comparison, preserving their exact positions and
views as they were at the moment of saving.
Compatibility
Compatibility with other software is guaranteed by the ability to export and import X3P format images.
Customer Support Services
Our forensic specialists offer a wide range of support options to meet your needs, including the following services:
-
On-site installation.
-
Technical support.
-
Phone and e-mail support.
-
Remote connection.
-
Illustrative videos, manuals, and short guides.
-
Comprehensive training in our own Training Facility.
-
Regular on-site maintenance, including software updates and advanced training.

